|
Target
Board |
STM32MP157F-EV1(ST)
|
|
Host
|
PC - Ubuntu 22.04
|
|
목표
|
STM32MP1 개발 환경 구축 - Developer Package 실행
|
Developer Package 실행은 다음과 같다.
1. Linux kernel 빌드
2. U-Boot 빌드
설치 과정은 커널 및 U-Boot가 설치된 폴더의 README.HOW_TO.txt를 참조한다.
1. Linux kernel 빌드
1-0. 작업 폴더
|
/home/본인PC이름/STM/Developer-package/stm32mp1-openstlinux-5.15-yocto-kirkstone-mp1-v22.11.23/sources/arm-ostl-linux-gnueabi/linux-stm32mp-5.15.67-stm32mp-r2-r0/linux-5.15.67
|

Linux kernel Compile 순서는 다음과 같다.
1-1. Pre-requisite
1-2. Initialize cross-compilation via SDK
1-3. Prepare kernel source code
1-4. Manage kernel source code
1-5. Configure kernel source code
1-6. Compile kernel source code
1-7. Update software on board
1-8. Update Starter Package with kernel compilation outputs
1-1. 사전 준비
- OpenSTLinux SDK 설치 되어 있어야 함
- libncurses and libncursesw dev package libyaml-dev
PC $ cd linux-5.15.67/

PC $ sudo apt-get install libncurses5-dev libncursesw5-dev libyaml-dev
- mkimage 설치
PC $ sudo apt-get install u-boot-tools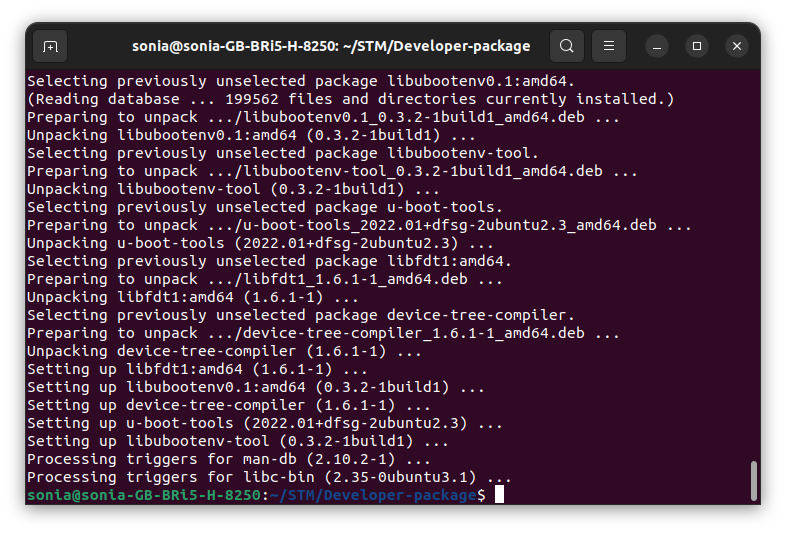
- yaml (check dts) 설치
PC $ sudo apt-get install libyaml-dev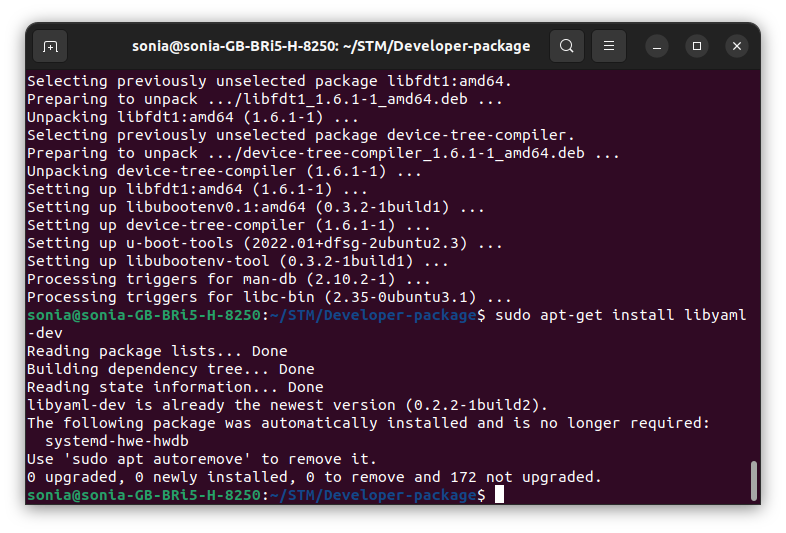
- git 설치
PC $ sudo apt-get install git-core gitk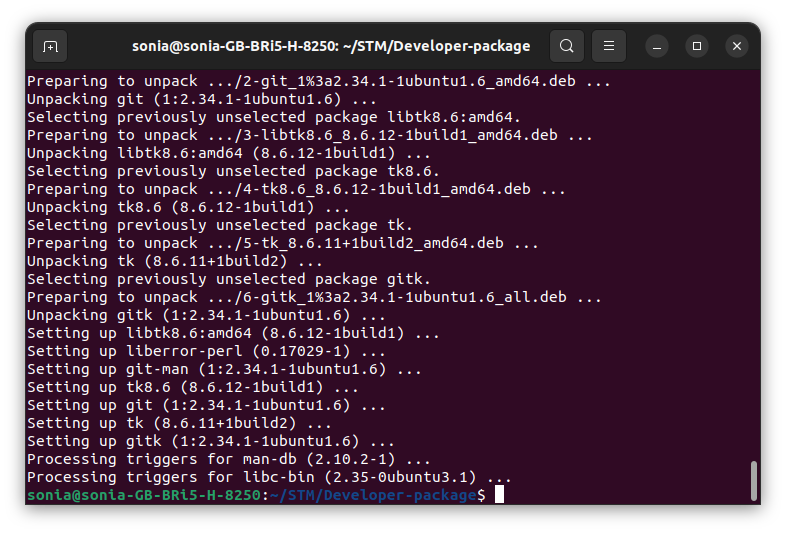
1-2. cross-compilation via SDK
- SDK 환경 설정 스크립트 실행
PC $ source /home/본인PC이름/STM/Developer-package/SDK/environment-setup-cortexa7t2hf-neon-vfpv4-ostl-linux-gnueabi
1-3. Prepare kernel source code
- ST 패치
PC $ for p in `ls -1 ../*.patch`; do patch -p1 < $p; done
1-5. Configure kernel source code
- fragment 적용
PC $ mkdir -p ../build

PC $ make ARCH=arm multi_v7_defconfig "fragment*.config"
- gcc 없다고 에러 메시지
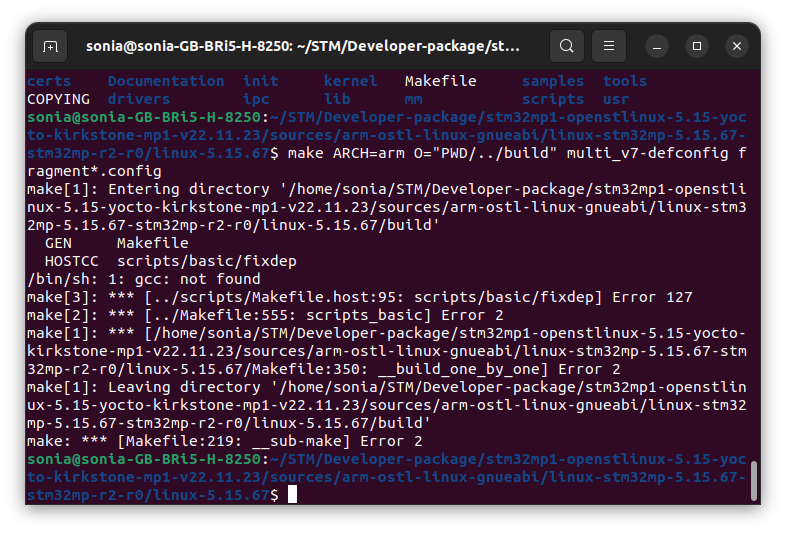
- make 설치
PC $ sudo apt-get install make- gcc 설치
PC $ sudo apt-get install gcc- fragment 적용
PC $ make ARCH=arm multi_v7_defconfig "fragment*.config"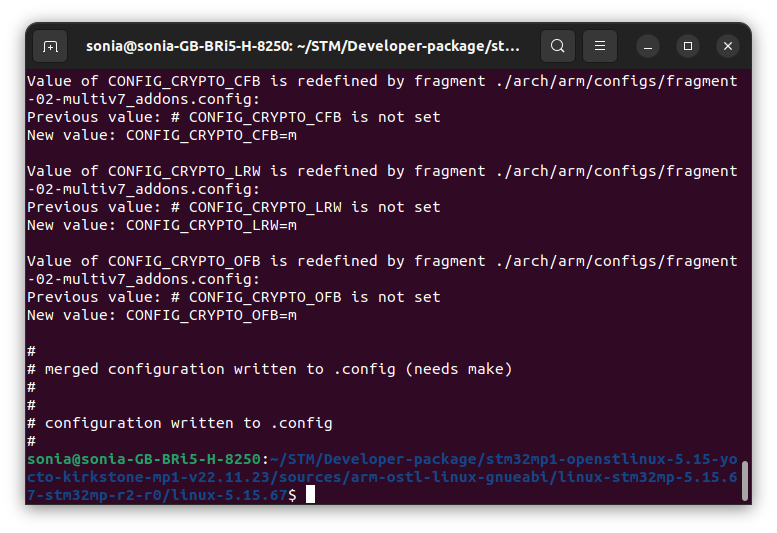
PC $ for f in `ls -1 ../fragment*.config`; do scripts/kconfig/merge_config.sh -m -r .config $f; done
PC $ yes '' | make ARCH=arm oldconfig
1-6. Compile kernel source code
- Kernel images 빌드(시간 오래 걸림)
PC $ make ARCH=arm uImage vmlinux dtbs LOADADDR=0xC2000040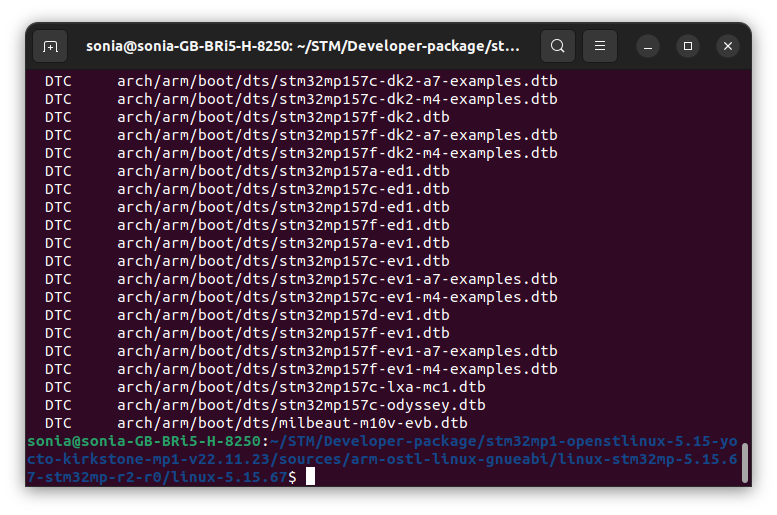
- Kernel module 빌드(시간 오래 걸림)
PC $ make ARCH=arm modules
- Output build artifacts 생성
PC $ make ARCH=arm INSTALL_MOD_PATH="$PWD/../build/install_artifact" modules_install O="$PWD/../build"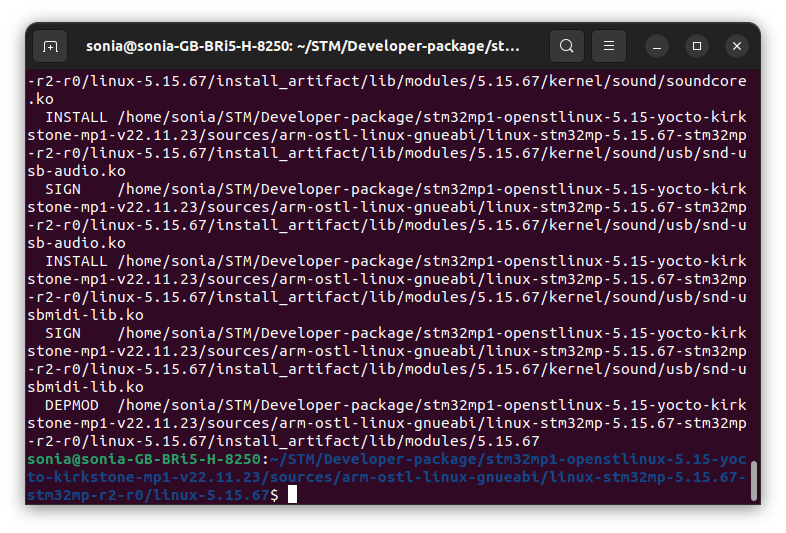
PC $ mkdir -p $PWD/../build/install_artifact/boot/
PC $ cp $PWD/../build/arch/arm/boot/uImage $PWD/../build/install_artifact/boot/
PC $ cp $PWD/../build/arch/arm/boot/dts/st*.dtb $PWD/../build/install_artifact/boot/
- 생성 파일 확인

2. U-Boot 빌드
2-0. 작업 폴더
|
/home/본인PC이름/STM/Developer-package/stm32mp1-openstlinux-5.15-yocto-kirkstone-mp1-v22.11.23/sources/arm-ostl-linux-gnueabi/u-boot-stm32mp-v2021.10-stm32mp-r2-r0/u-boot-stm32mp-v2021.10-stm32mp-r2
|

U-Boot Compile 순서는 다음과 같다.
2-1. Pre-requisite
2-2. Initialize cross-compilation via SDK
2-3. Prepare U-Boot source code
2-4. Manage of U-Boot source code with GIT
2-5. Compile U-Boot source code
2-6. Update software on board
2-7. Update starter package with U-Boot compilation outputs
2-1. 사전 준비
- OpenSTLinux SDK 설치 되어 있어야 함
2-2. cross-compilation via SDK
- SDK 환경 설정 스크립트 실행
PC $ source /home/본인PC이름/STM/Developer-package/SDK/environment-setup-cortexa7t2hf-neon-vfpv4-ostl-linux-gnueabi
2-3. Prepare U-Boot source code
- ST 패치
PC $ for p in `ls -1 ../*.patch`; do patch -p1 < $p; done
2-5. Compile U-Boot source code
- 컴파일 환경 설정
PC $ make stm32mp15_defconfig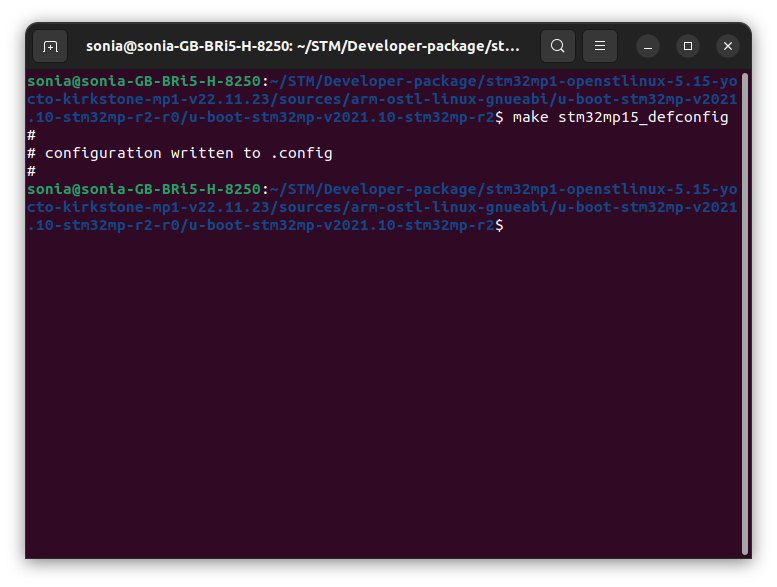
- 빌드
PC $ make DEVICE_TREE=stm32mp157f-ev1 all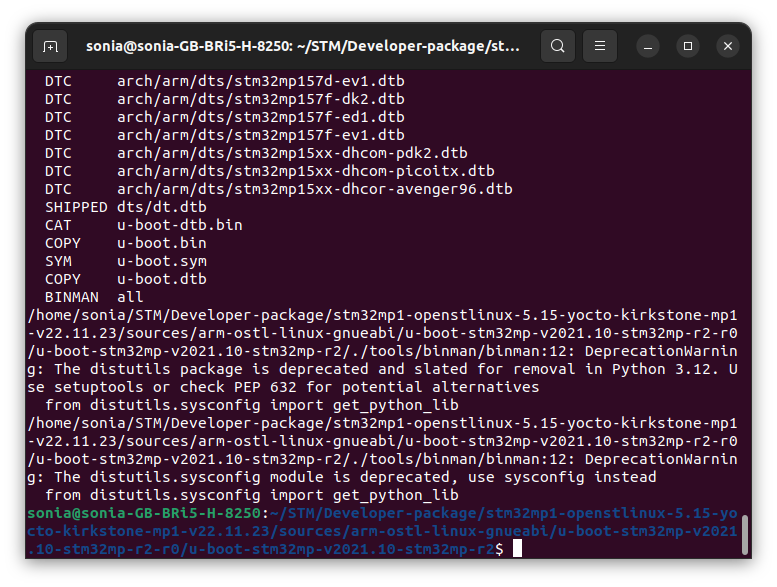
'ST > STM32MP157' 카테고리의 다른 글
| STM32MP1 개발(7) - Cortex-A hello-world (0) | 2025.03.22 |
|---|---|
| STM32MP1 개발 환경 구축(6) - Cortex-A Distribution Package 설치 (0) | 2025.03.22 |
| STM32MP1 개발 환경 구축(4) - Cortex-A Developer Package 설치 (0) | 2025.03.22 |
| STM32MP1 개발 환경 구축(3) - Starter Package 실행 (0) | 2025.03.22 |
| STM32MP1 개발 환경 구축(2) - Cortex-M STM32CubeMPU Package 설치 (0) | 2025.03.22 |